Toolshed ezdeploy is able to output a Windows Provisioning Package (file extension .PPKG) which is a small archive that contains Windows Setup instructions that can be processed automatically during the Windows OOBE (out-of-box experience) phase. When the OS boots up for the first time, it will check removable USB storage for a valid PPKG file and process the first one that it finds. You can also double-click a PPKG from a computer that has already been through OOBE, but the primary use case for PPKG is to
The Toolshed ezdeploy OneTouch PPKG file contains a few instructions for the OS to skip the normal “Hi. Welcome to Windows…” bootup sequence, and instead it will automatically create a local administrator account with your desired password, optionally connect to an SSID, optionally do a Windows Refresh procedure, and then proceed to install the EZDeploy ezdeploy service (a Windows service). EZDeploy ezdeploy service will then install a predetermined RMM Agent and schedule your Configuration Profile.
| Info |
|---|
|
...
New | Select to create a new OneTouch Deployment |
Edit | Select an existing OneTouchDeployment- then click Edit to make changes. |
Duplicate | Select an existing OneTouchDeployment - then click Duplicate to create a copy which will default to “OneTouchName “OneTouch Name - Copy” as OneTouchNameOneTouch Name. |
Delete | Select an existing OneTouch Deployment - then click Delete. You will be prompted to confirm deletion. |
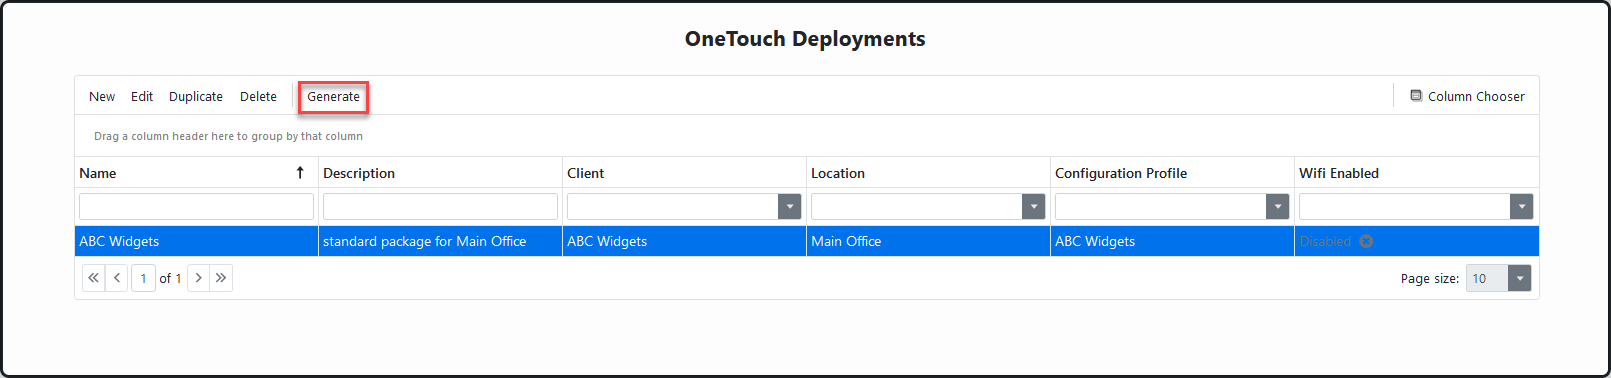
Generate | Select an existing OneTouch Deployment then click Generate. You will be prompted to save the ppkg file once the generation has completed. |
Show Column Chooser | Selecting allows you to choose which columns to display. Example 6 of the 10 available columns are displayed. 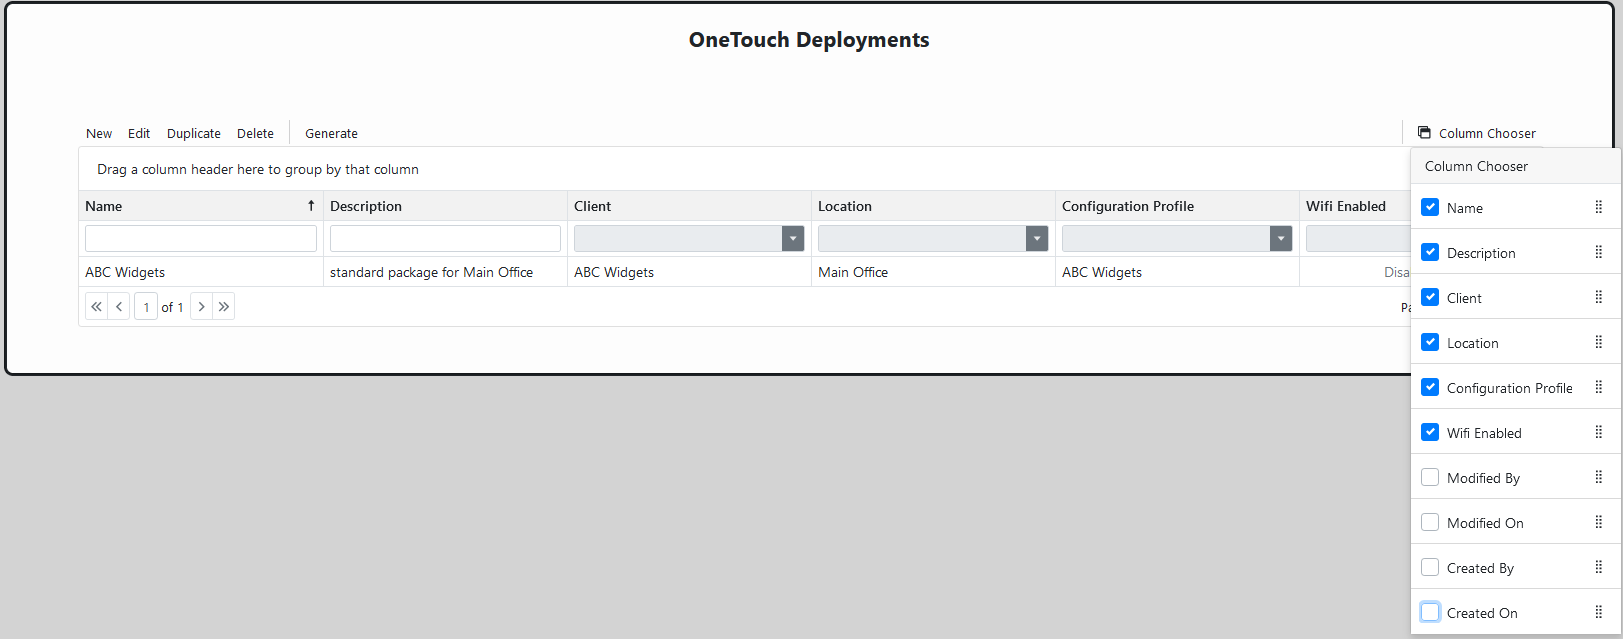 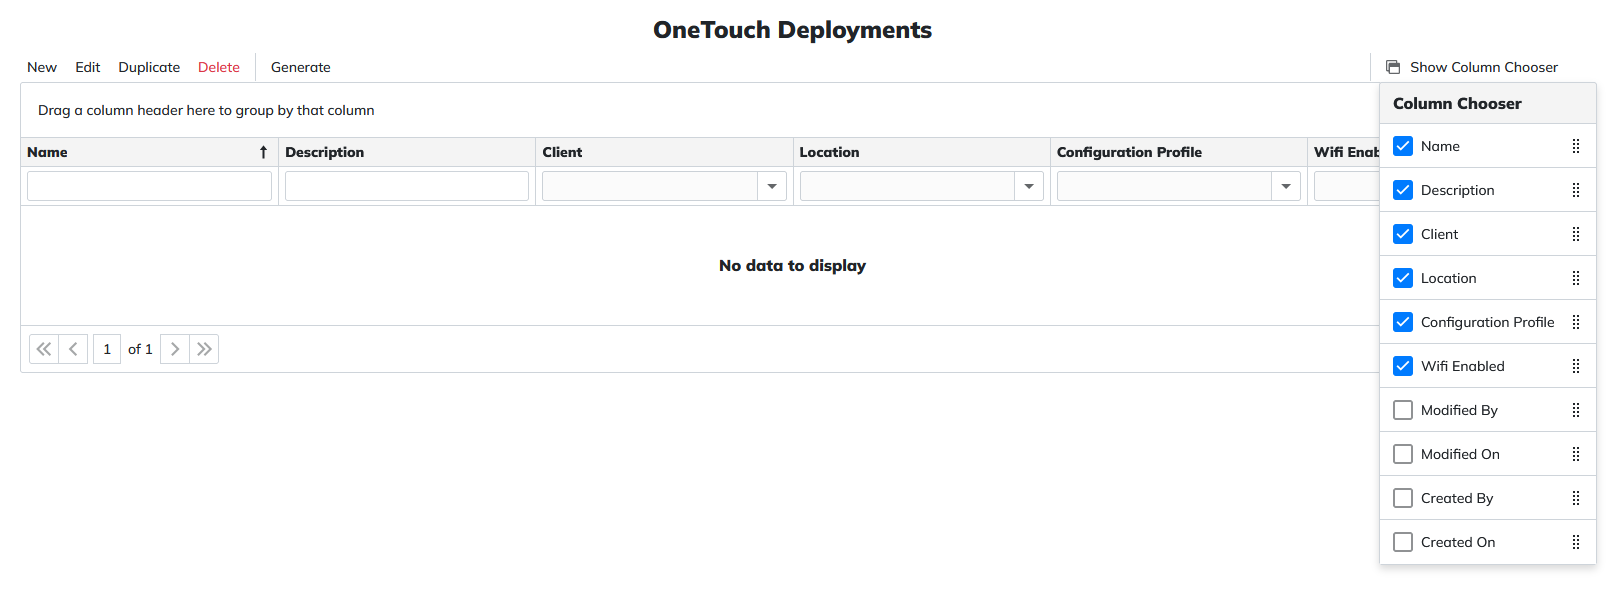 |
Filter Row | This allows you to search/filter based on the available column data. Text can be typed in the Name, Description, Modified By and Created By columns. Client, Location, Configuration Profile and WiFi Enabled columns have a Dropdown Selector. Modified On and Created On columns have a Date Selector. 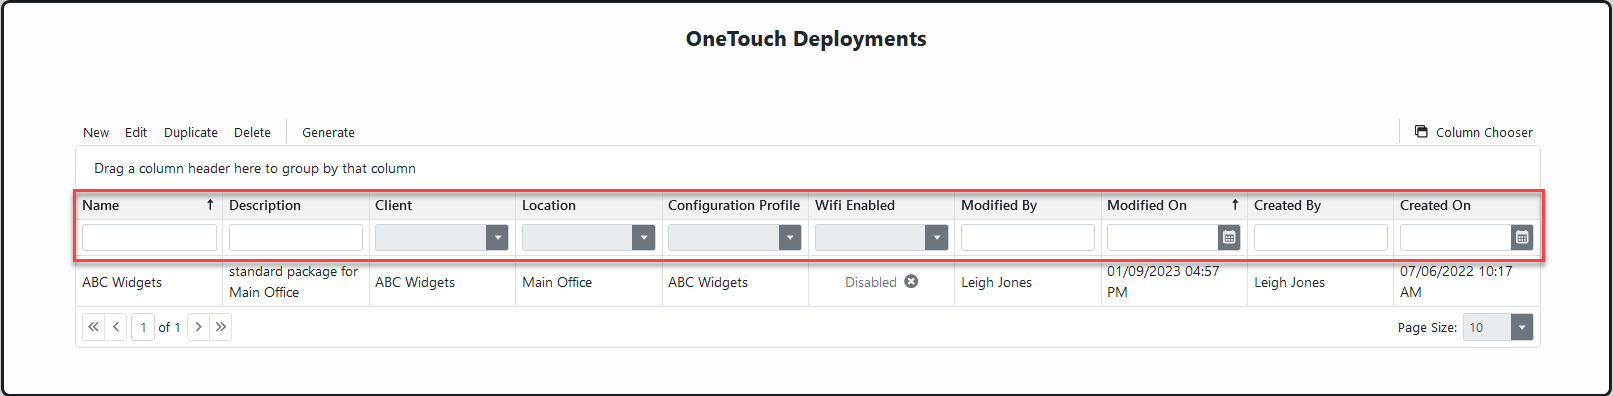 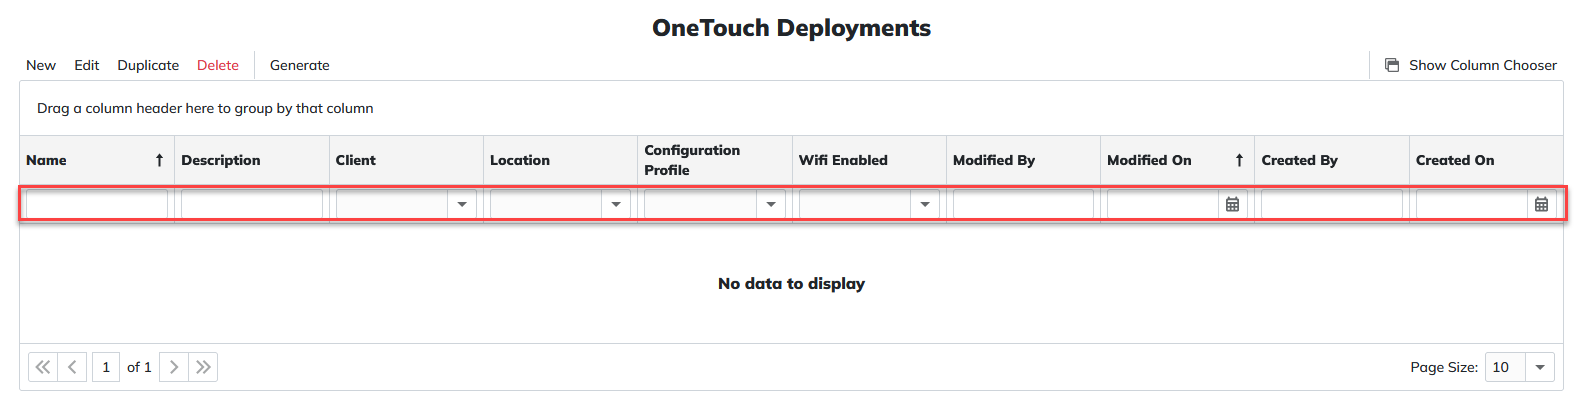 |
OneTouch Deployments Usage
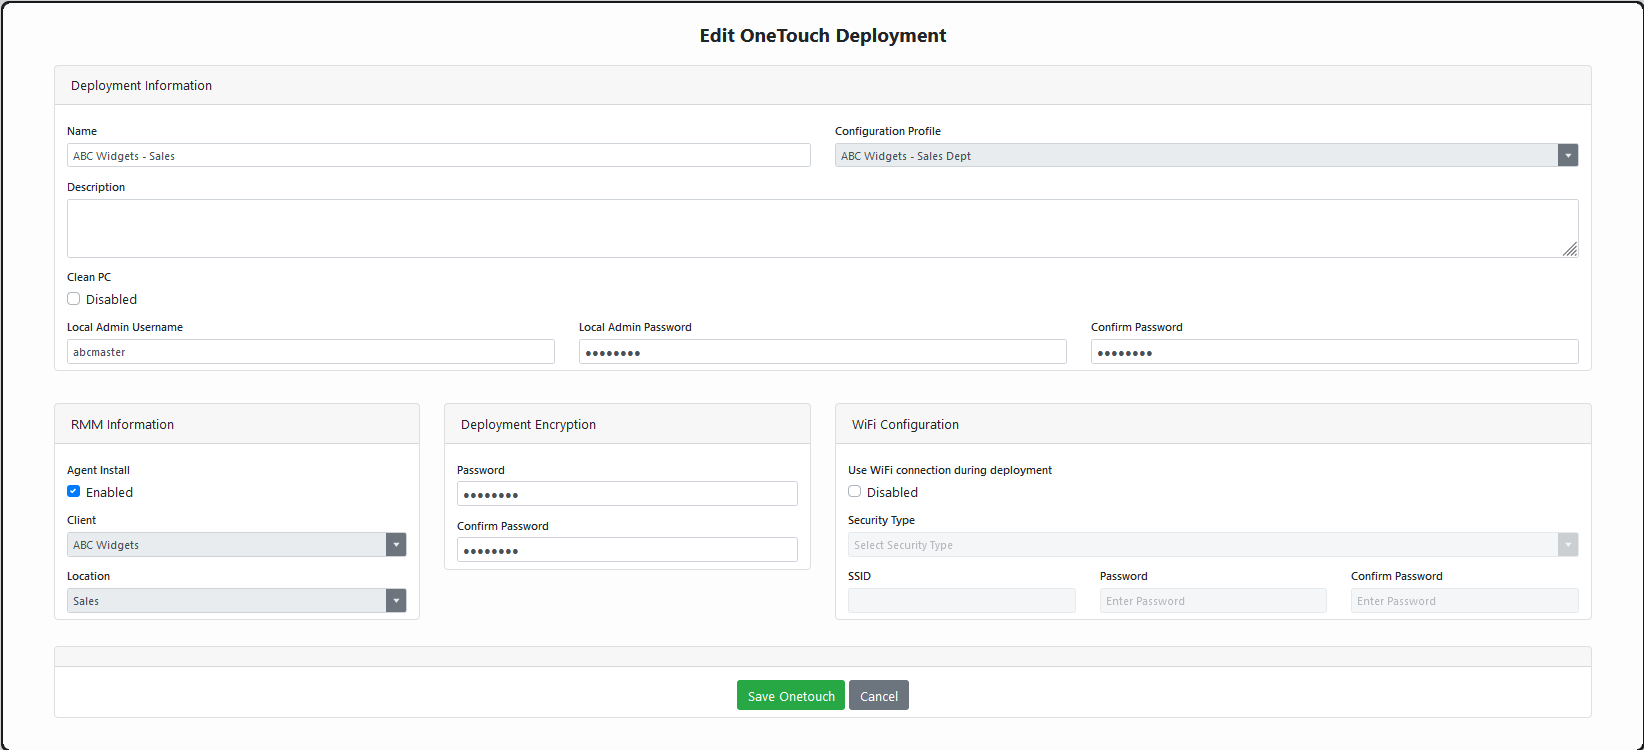
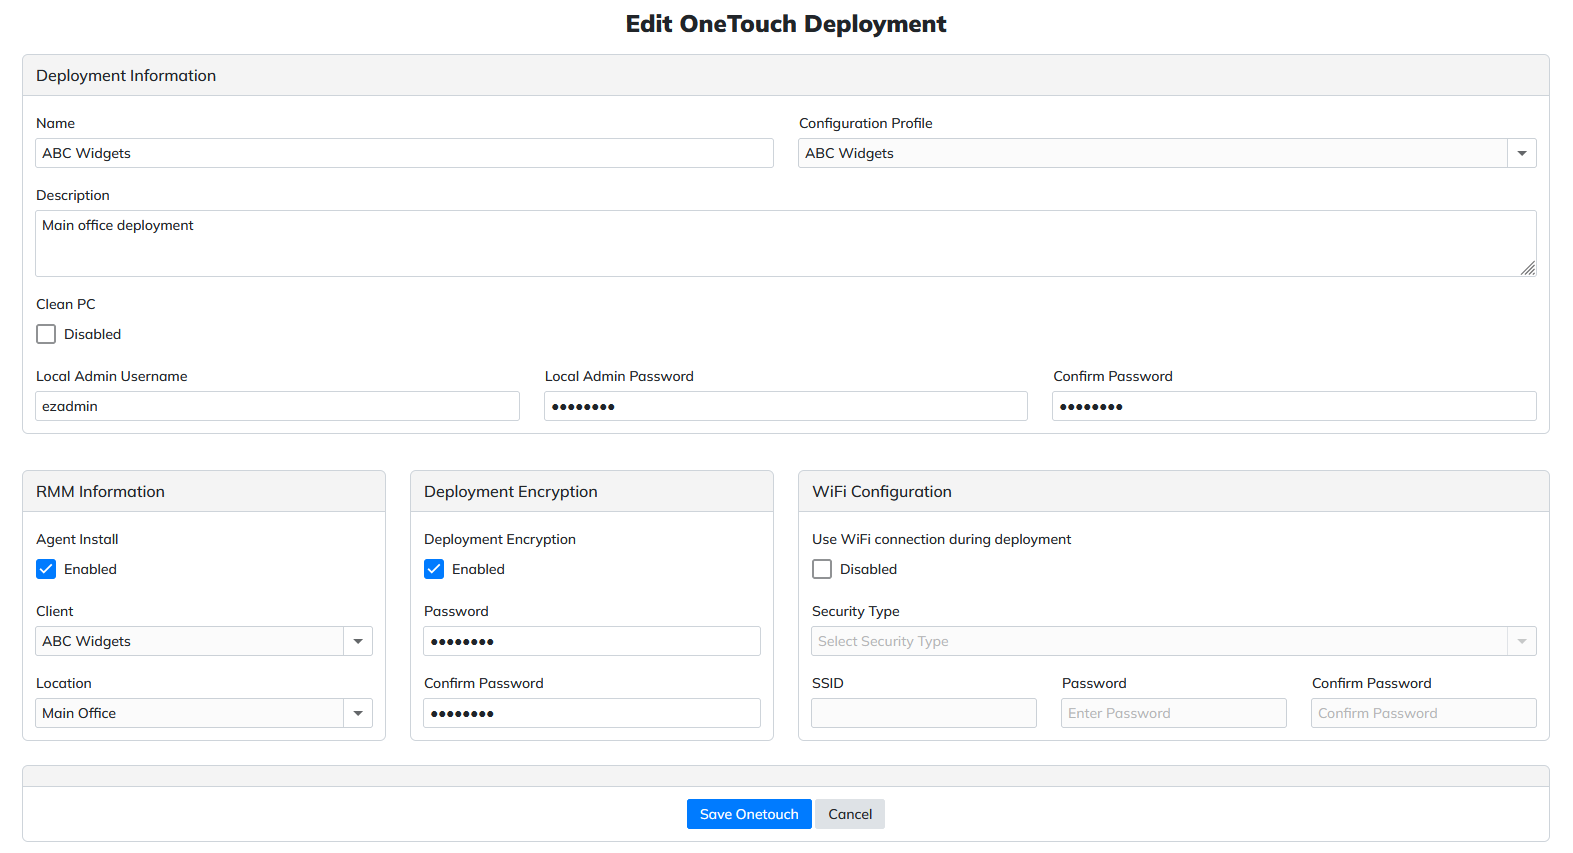
Once you select New from the menu bar - you will be presented with the following form to populate.
...
Deployment Information | |
|---|---|
Name | Enter name for the OneTouch deployment package |
Description | Enter description (optional) |
Configuration Profile | Select desired Configuration Profile from dropdown selector |
Clean PC | Disabled by default. Click checkbox to toggled to Enabled. Note Microsoft indicates CleanPC CSP is supported in Windows 10/11, Enterprise and Education versions editions only. |
Local Admin Username | Enter local admin username to be created. This account will remain after deployment is completed. |
Local Admin Password | Enter password to use for local admin |
Confirm Password | Confirm password to use for local admin |
...
Deployment Encryption | |
|---|---|
Password | Enter encryption password for package - you will be prompted to enter when the ppkg is used. Enabled by default. |
Confirm Password | Confirm encryption password for packed. |
...
Once you have populated the form - click Save OneTouch button and confirm.

Now the OneTouch Deployment is listed - select row then click Generate to get the ppkg file.

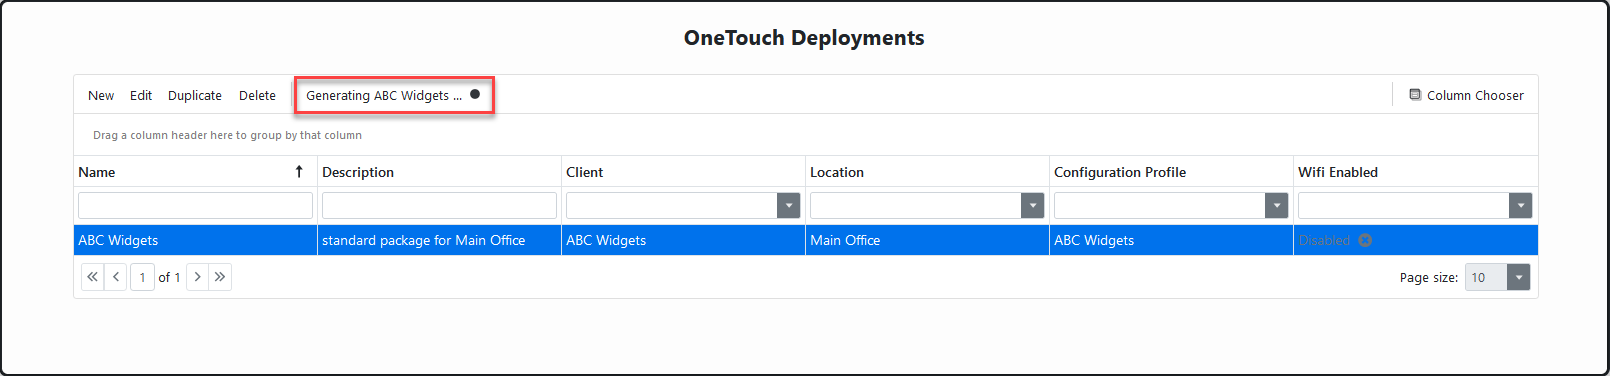
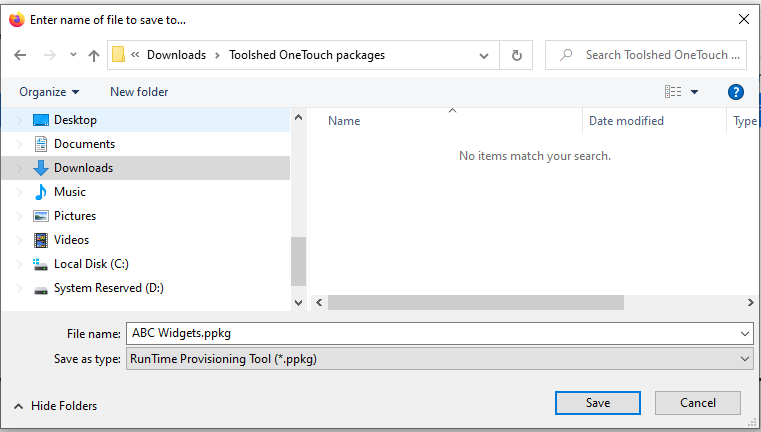
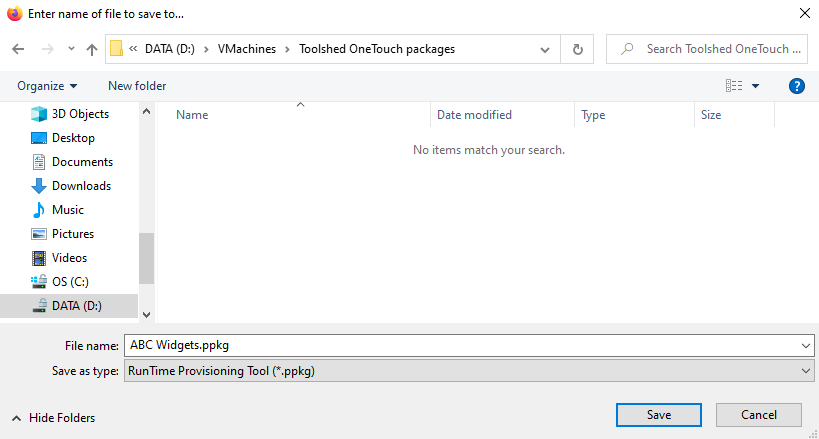
You will see package being generated and once completed you will be prompted where to save file and what filename to use (defaults to the package Name)

You can edit an existing OneTouch at any time by selecting the row and choosing Edit from menu bar.
Note if you make changes to settings within the OneTouch other than the Configuration Profile - you will need to generate a fresh copy of the ppkg.
You can make as many changes within the Configuration Profile, the Naming Rules and script items used without generating a new ppkg file. During the deployment the Configuration Profile is fetched to get the current instruction set to process.
Deployment Sequence
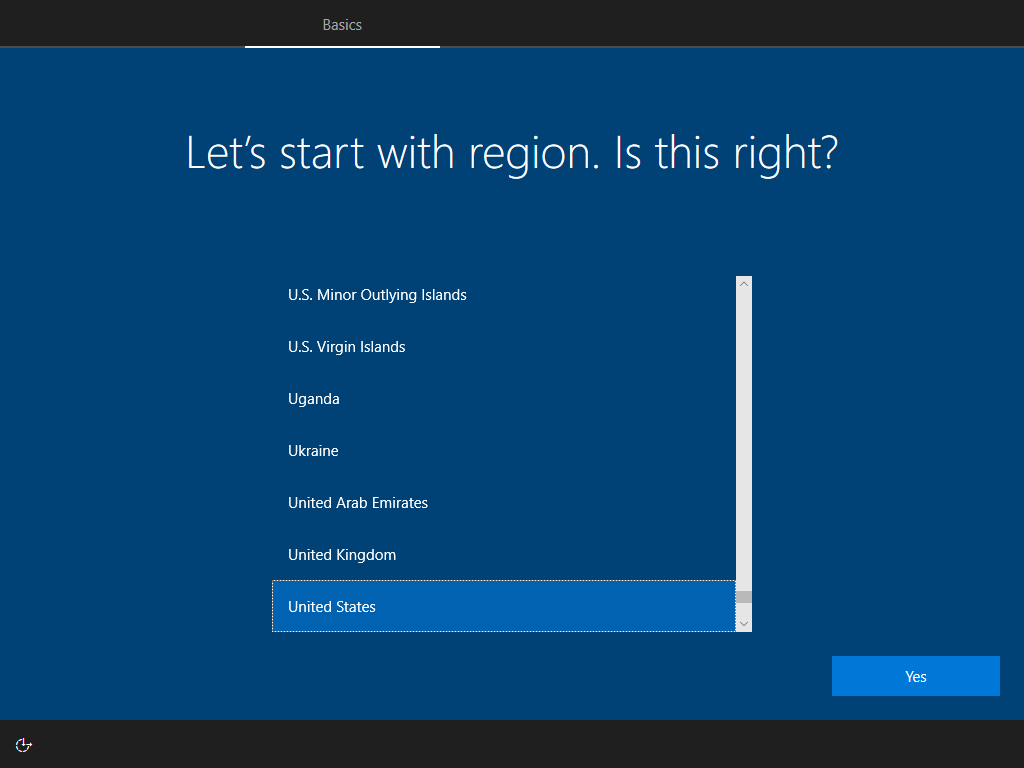
Boot from USB containing your ppkg. The Windows OOBE (out-of-box experience) will bring you to the region selection screen. You will hit the Windows key 5 times to proceed to next menu.
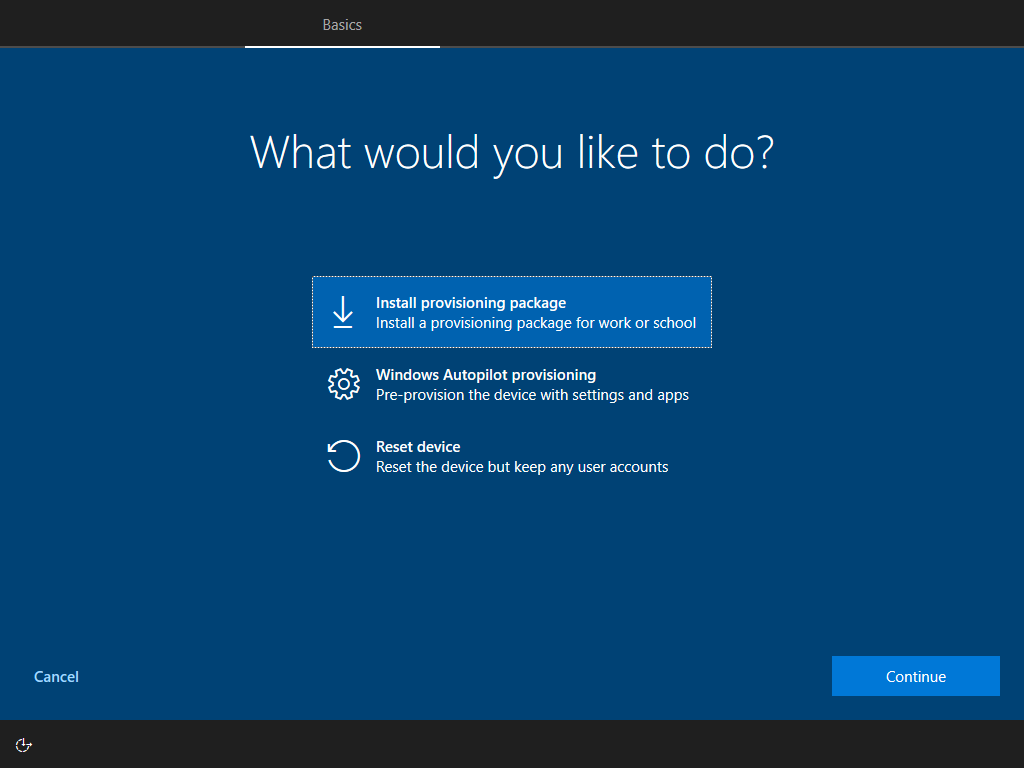
Select Install provisioning package and click continue
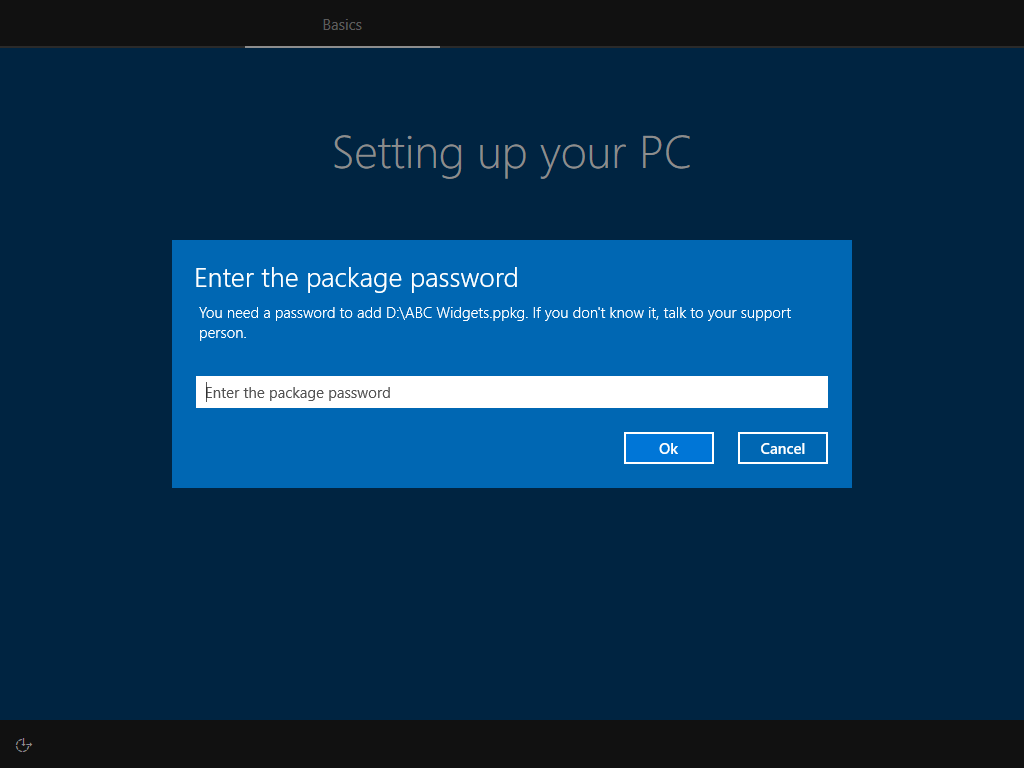
Enter you password for the package then click OK
Windows will display Setting up your PC screen next
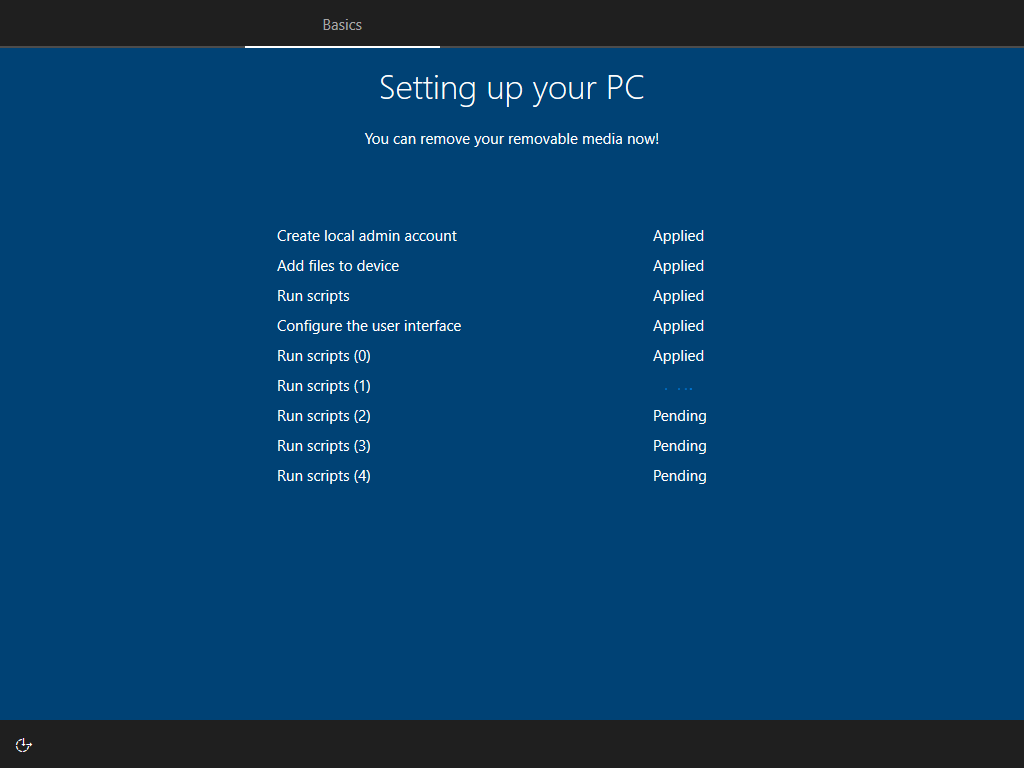
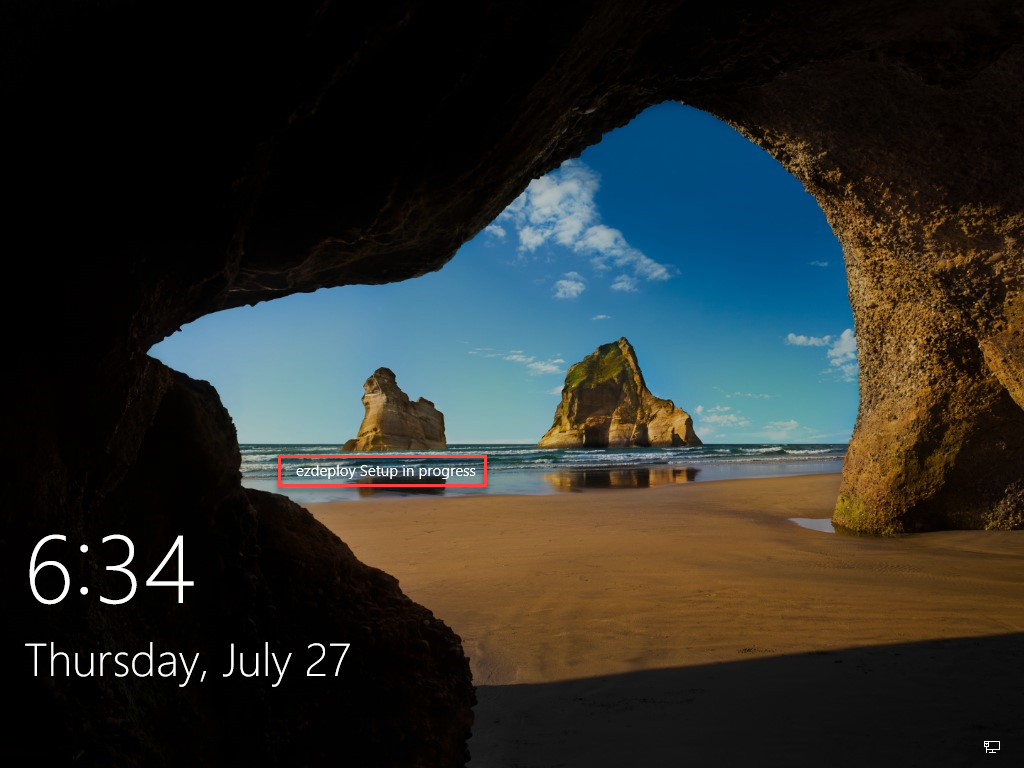
Once the initial provisioning steps are completed, local admin account created and the ezdservice service installed and begins the post-provisioning portion of the deployment. Your Build Notice title will display on the next screen
Once configuration profile items start processing you will see both your Build Notice Title and Notice Message displayed on this screen - click OK.
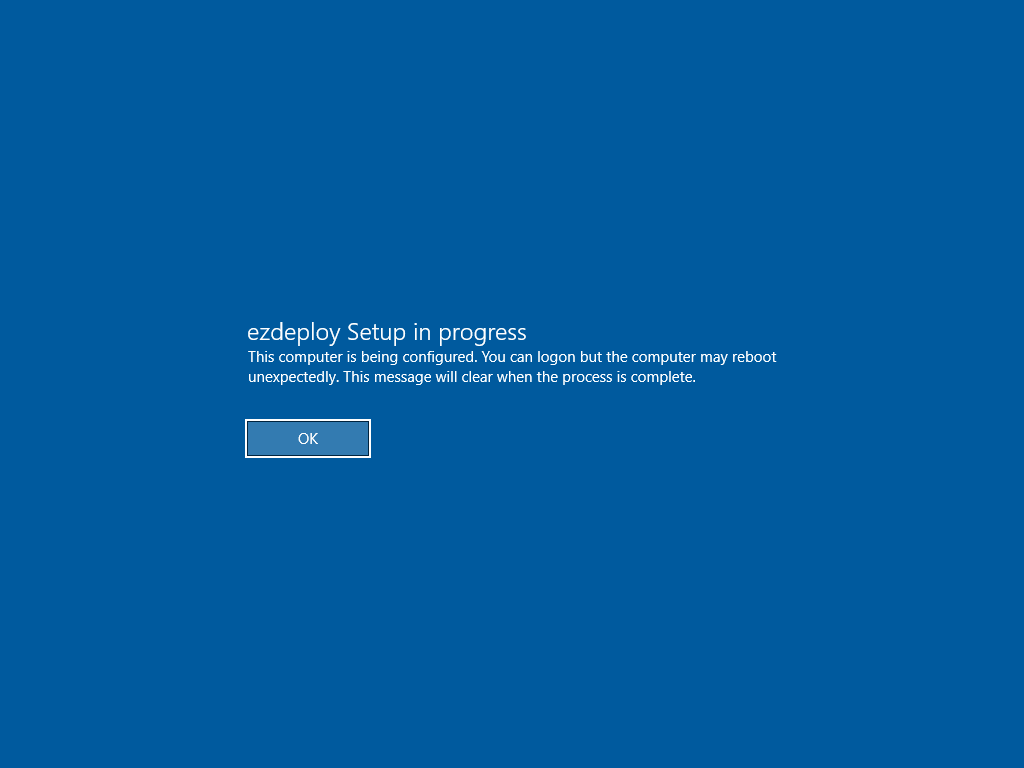
As mentioned you can logon but the build notices will not be removed until the completion of the entire deployment.